
Having gorgeous photos on your online store or social media can be the difference between making sales &converting customs and no sale at all. This tutorial has been specifically made for business owners trying to DIY their online product photos.
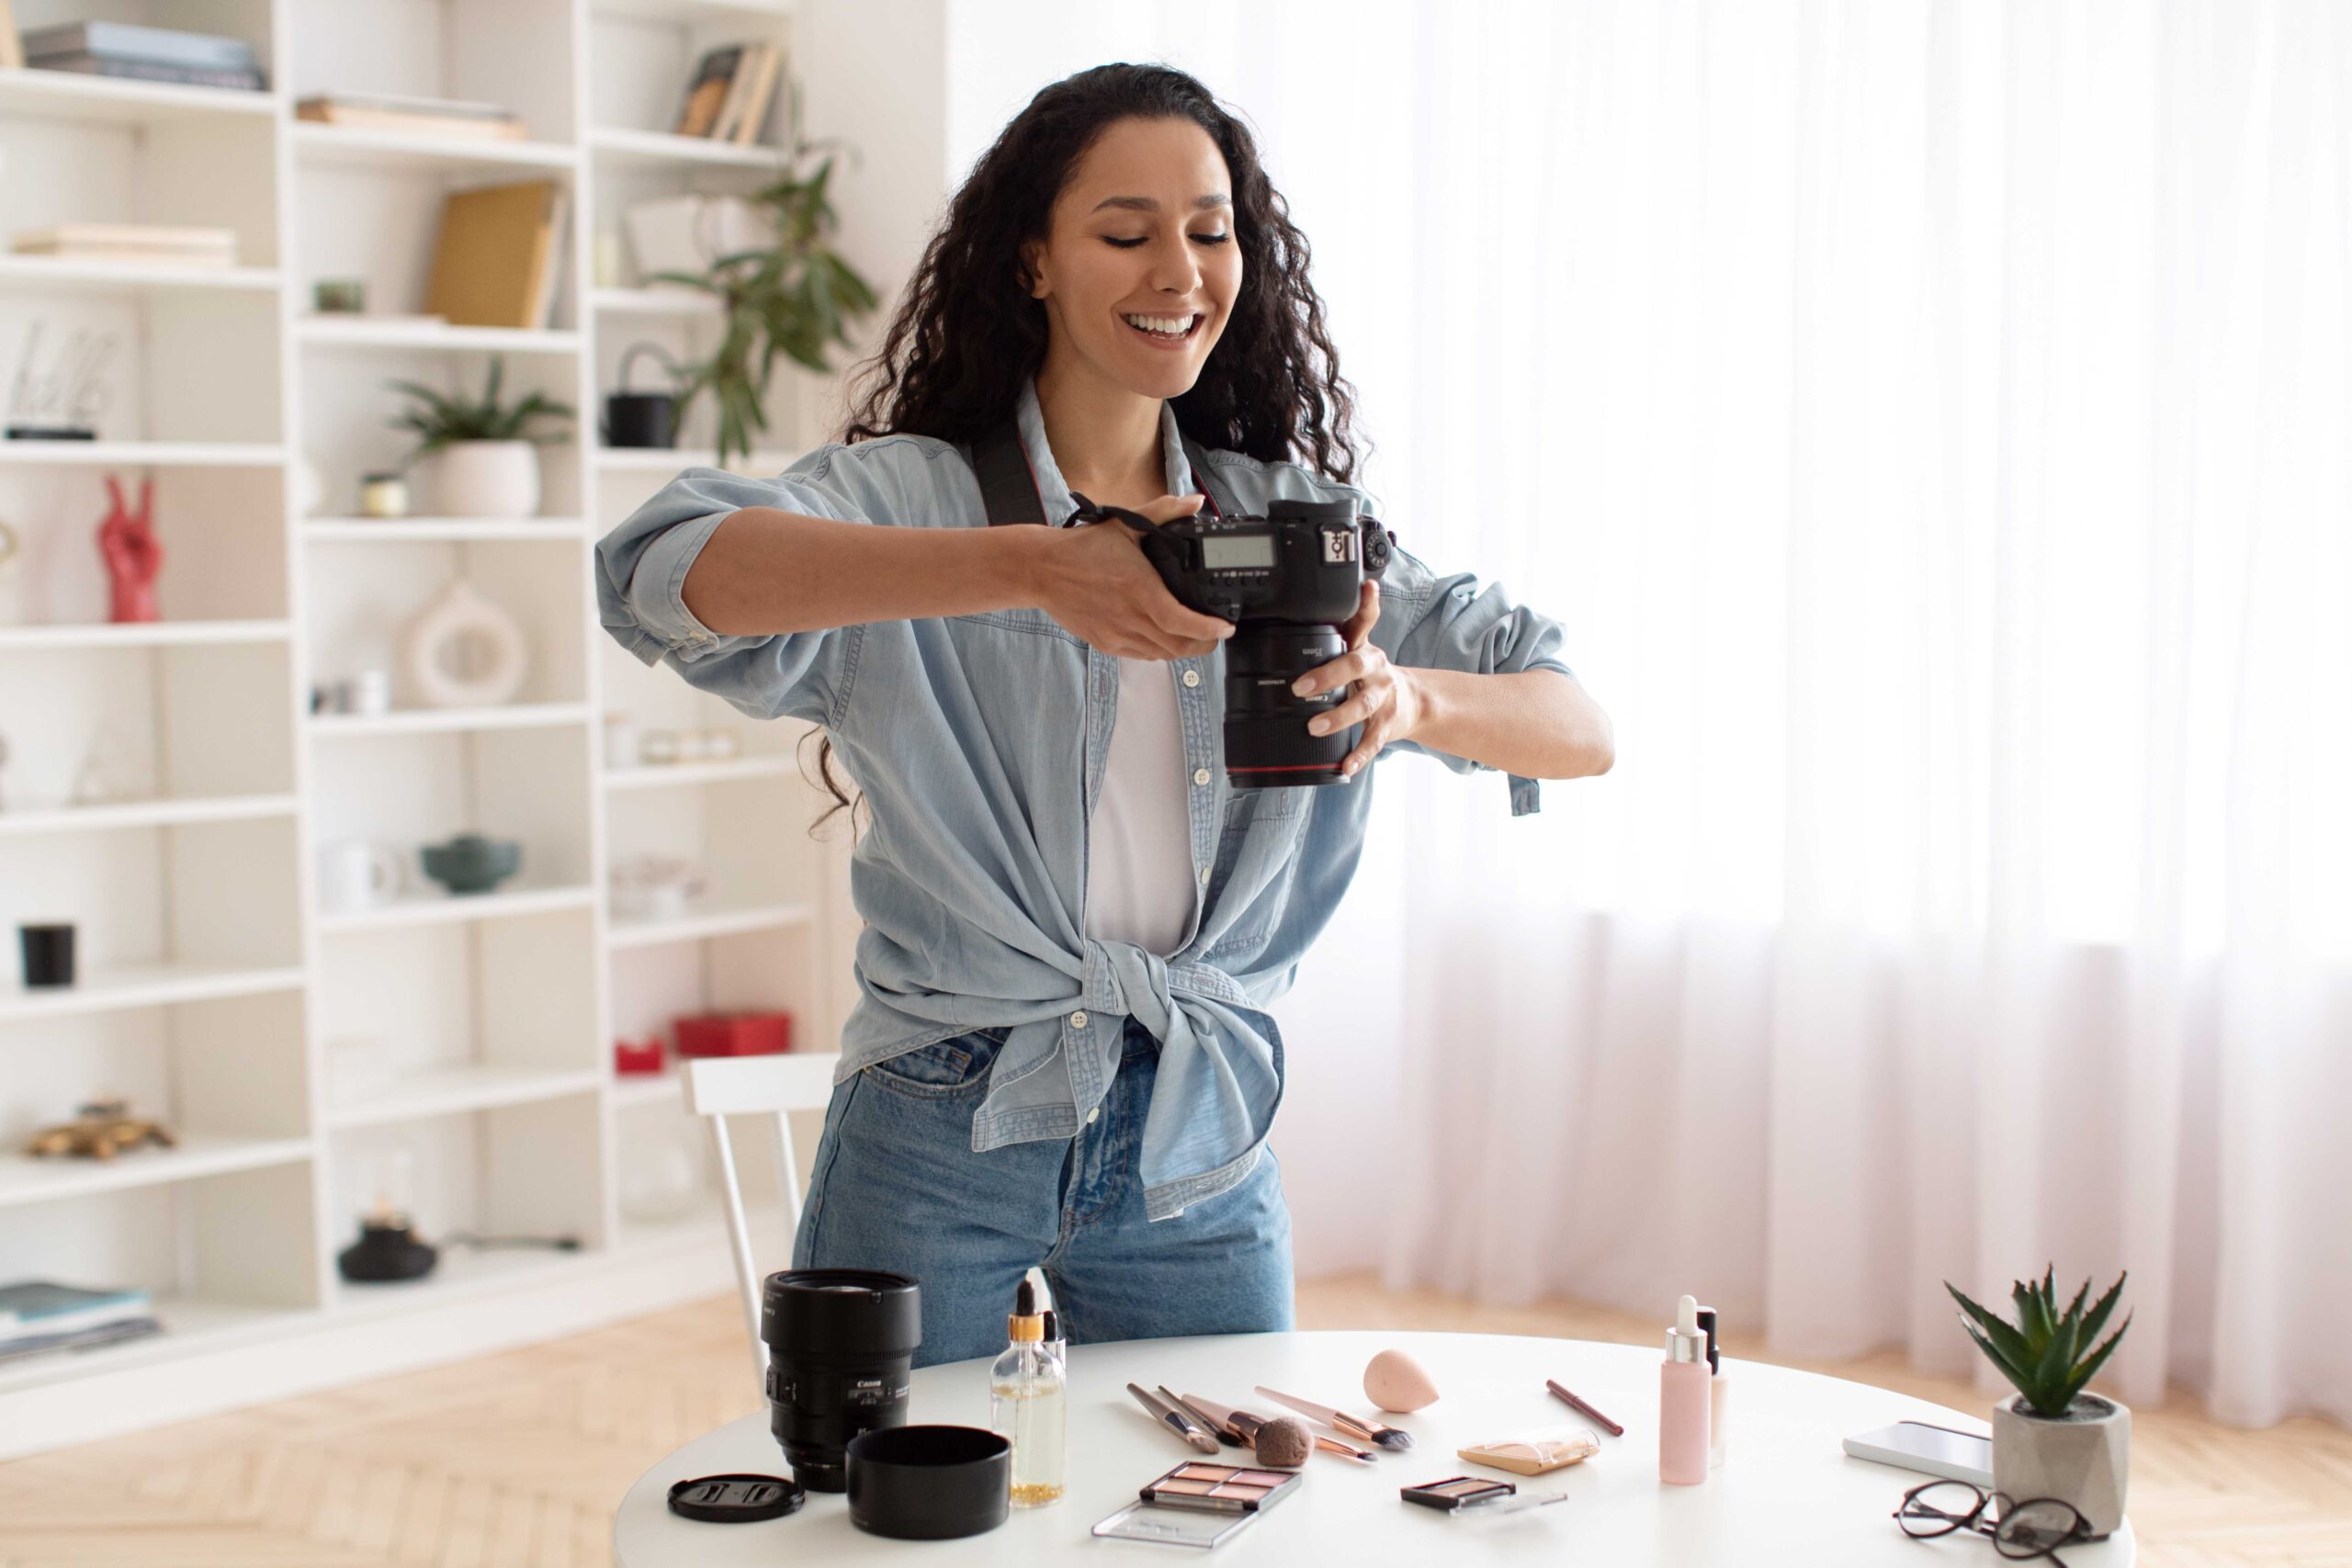
Lets explore the items you’ll need to get gorgeous photos for your online store!
1. Camera
Do you need a top of the line camera to take good product photos? While it’s certainly a nice to have its definitely not a requirement. Before you decide to run out and invest in a top of the line camera try the one attached to your phone first. A camera is only one part of taking good product photos, it also tends to be one of the more expensive pieces of equipment, try using what you’ve got on hand first!
2. Tripod
Tripods are in our opinion the most important way to take better product photos. This makes sure the camera is steady when the photo is snapped. You don’t need a top of the line tripod but any way to hold your camera completely steady is your best assets

3. White Background
There are a lot of items you can use as a white background. We recommend getting a white sweep online. You can get a white sweep for under $30 online. If you are in a real bind though you can get white poster board. Remember though we are looking for as white as possible, off white will be more difficult to edit after the photos are taken.
4. Lighting
The biggest thing you need is good lighting. This can be as simple as a well lit window in a room, but there are light boxes and ring lights for quite cheap now online. Start with what you have now though, the downside of using only a well lit window is that you can be limited to daylight hours and by weather.
5. White Bounce Cards
A bounce card is a white reflective object that can help bounce light back at the object being photographed. These are useful because they help eliminate shadows. If you don’t have a white bounce card white foam board also works great!
TAKE YOUR PHOTOS
Great! You’ve got everything you need but how do you set it all up?
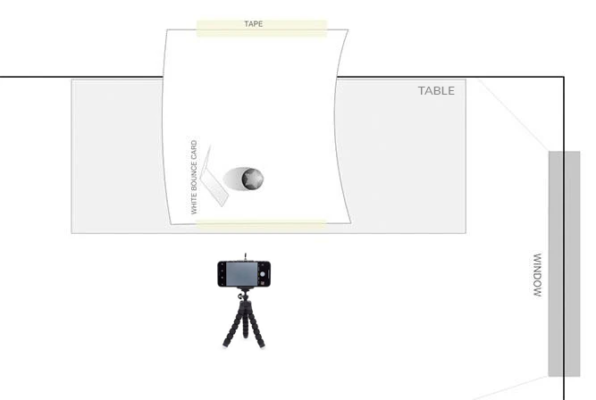
Check out the above diagram for an ideal set up.
1 Setup Your Table
Set up your table as close to a window as is possible. You want the window 90-degrees right or left of your set up. The closer you are to the window the softer the light will be. Remember to turn off the other lights in your room so it doesn’t interfere with the lighting your setting up.
2 Set Up Your Sweep
The sweep is the white background. If you can attach the sweep to the wall behind the table this works best, let the sweep round down and out so that it creates a white background and base for your photos.
3 Set up Your Product & Reflector
On the center of your sweep set up the products you are about to photograph. There might be small adjustments you’ll need to make to the product your shooting to make sure it’s well aligned. Once you’re happy with a general location for your product set up the reflector card to help eliminate shadows. Again you can play with the positioning of the reflector card
4 Set up your Camera
Does your phone have different cameras with different zoom? If you do, its better to set up your camera further away and use the highest zoom lens you have. Don’t use digitial zoom though.
Lock the focus of the camera on your product.
That’s it! Take multiple photos that you can go through later to find the one you like the best.
Try changing the angle you are taking your photos at. Try head on, at an angle and from above. It’s easier to take more photos and choose which you want after.
5 Retouch Your Photos
This is the final but also the most important step in taking product photos. There are many AI solutions that can touch up photos but if you wanted a more hands on touch you can use photoshop or even use a professional service like Path that can edit your photos for a dollar each.
That’s it! You’ve got the tools you need to start taking great photos for your website and social media!
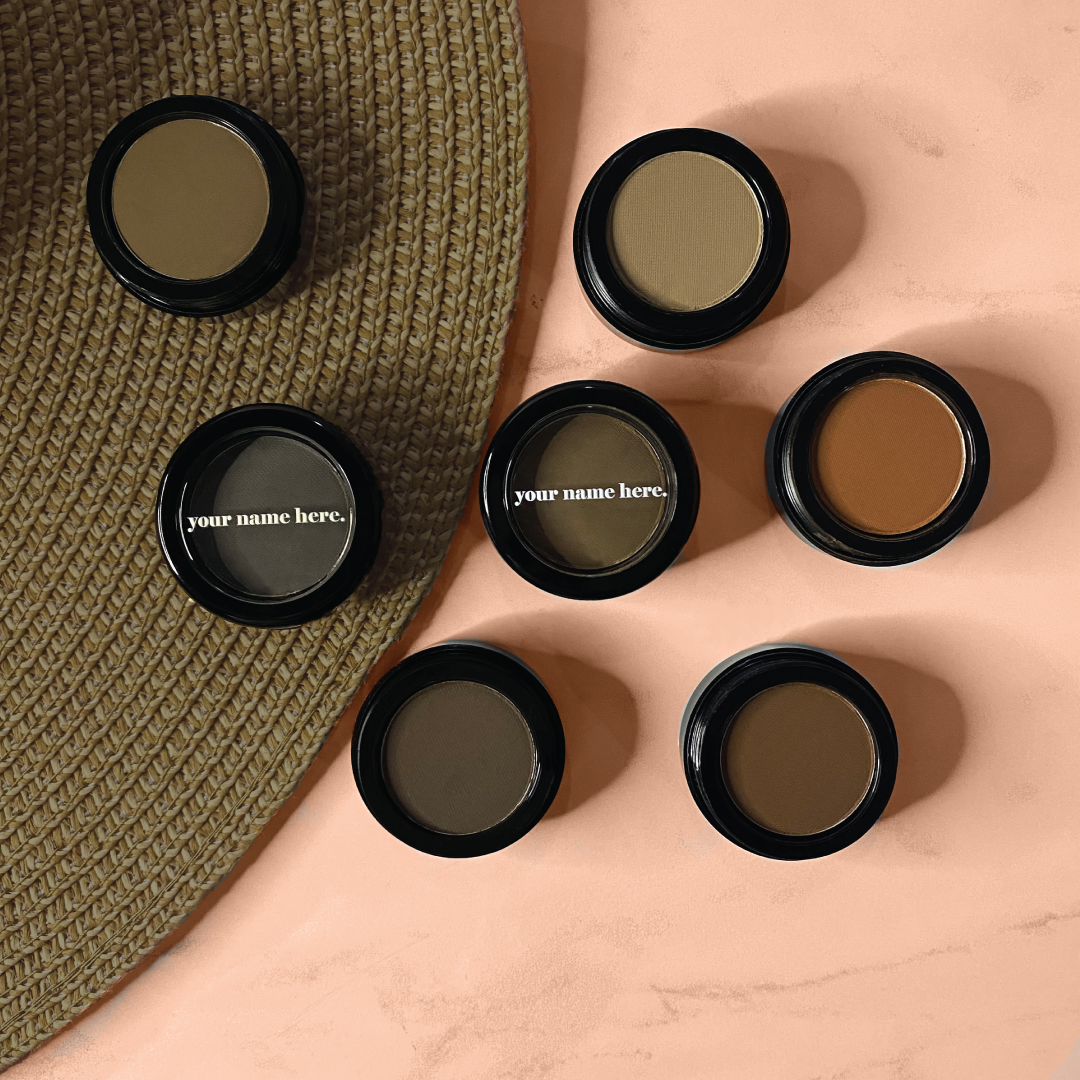
Did you know eyebrowz also sells custom swatches to show off the colors you are ordering to your customers? Check that out here